Supported models and features
IMPORTANT! This service works only for users with timed license accounts or HCU dongle!
Step 1 (Preparation)
Connect the phone to PC via hardware testpoint, use a special Harmony OS testpoint cable!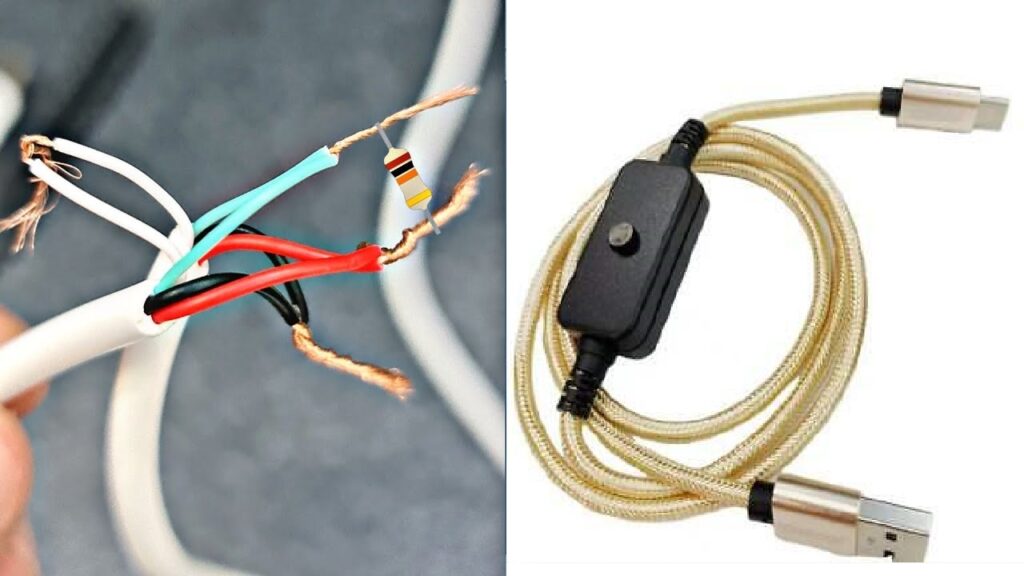
Make sure it is visible in device manager on computer under “Ports” section:
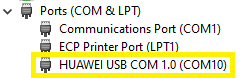
Testpoint drivers download here
Step 2
Download HCU tool here
Launch software
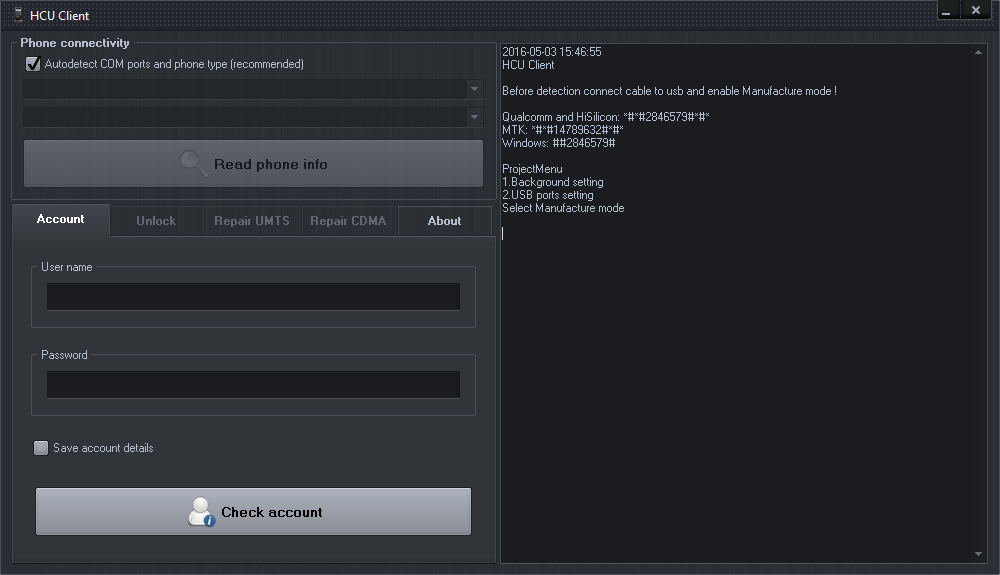
Step 3
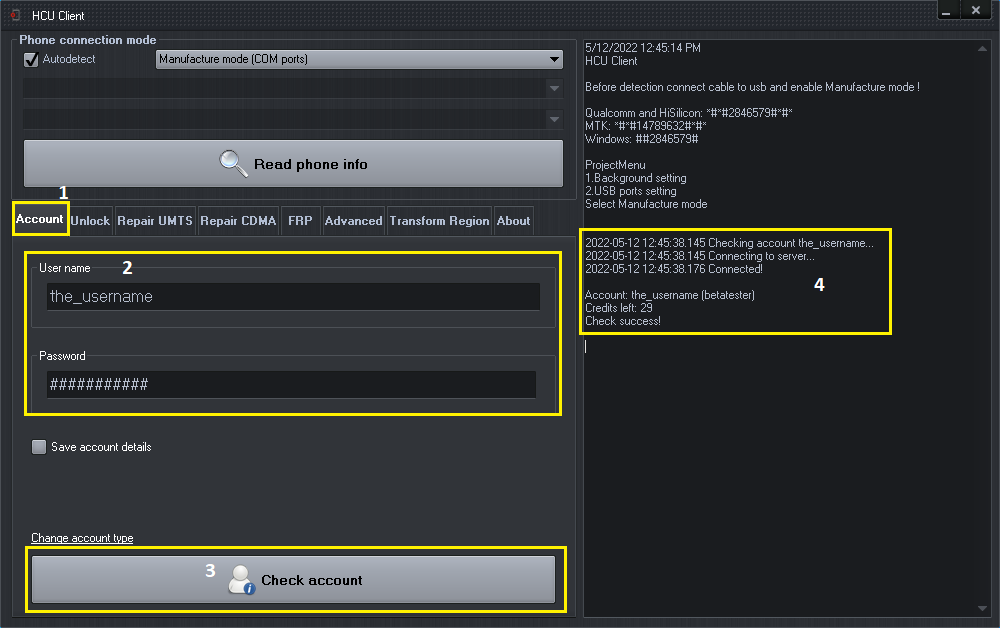
On the “Account” tab enter your user name and password or use dongle with HCU activation. Click on “Check account” button and wait to be logged into the server (You get an account after “HCU timed license” purchase from resellers LIST or check “BUY” page)
Step 4
Choose “Fastboot/Xloader (Hisilicon only) option from phone connectivity

Step 5
Click on the “Xloader” tab and agree to terms if you wish to continue

Step 6
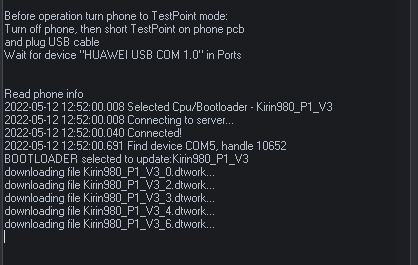
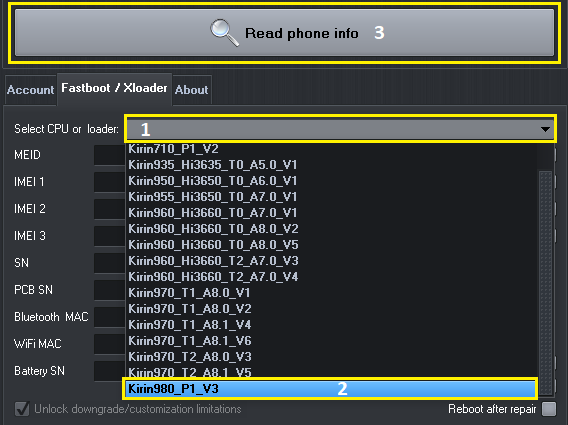
According to your mobile’s CPU choose the correct loader (there may be multiple, try them until one works for you) and click “Read phone info”
Step 7
Monitor detection (it may be slow)

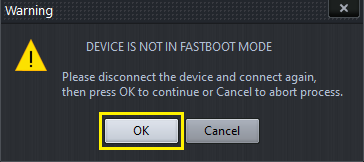
A warning message will pop up during the detection process. Now you need to disconnect the mobile from the USB cable and connect it back, then click “OK” on the message box to continue
Step 8
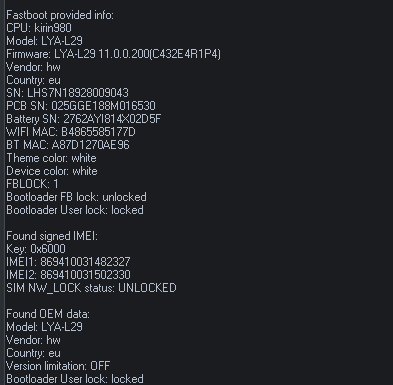
Wait for mobile to be fully detected
Step 9
For IMEI repair click on the IMEI field and type in the correct IMEI. For devices that require a certificate (Kirin710, Kirin980) click the folder icon next to the IMEI field
![]()
Step 10
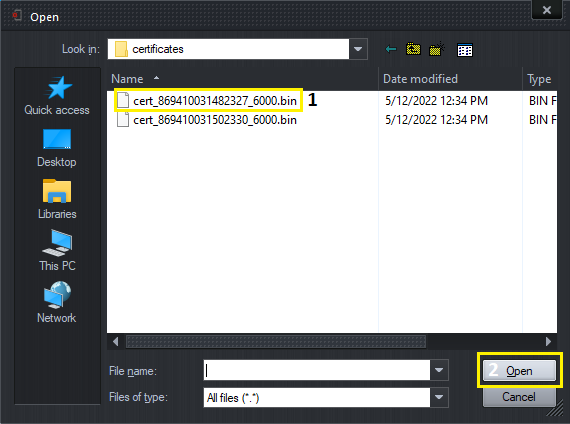
Navigate to the folder with certificate(s), select it, and click “Open”
Step 11
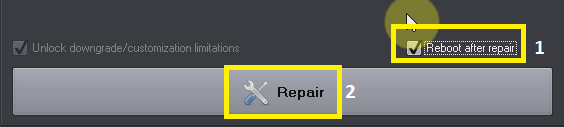
Put a checkmark on the “Reboot after repair” option, proceed by pressing the “Repair” button
Step 12
Now just wait for the repair to complete, phone restarts to the home screen if “Reboot after repair” option was checked